
 by
Overheating is one of the faults van owners most need to get right first time, because the gap between “caught it early” and “new cylinder head” can be a matter of minutes of driving. The Vivaro is a common van on UK roads across three very different generations, and the cooling system you are working on depends heavily on which one you have.
Which Vivaro are you working on?
This matters more than most owners expect, because the three generations share almost nothing mechanically.
- 2001 to 2014 (first generation). Developed alongside the Renault Trafic and Nissan Primastar, with 1.9 and 2.0 litre diesel engines.
- 2014 to 2019 (second generation). Still shared with the Trafic, most commonly with the 1.6 litre diesel in single and twin turbo forms.
- 2019 onwards (third generation). A completely different vehicle built on the Stellantis platform shared with the Peugeot Expert, Citroen Dispatch and Toyota Proace, using 1.5 and 2.0 litre diesel engines.
Before ordering any part, confirm the engine code from the VIN or the engine itself rather than going by model year alone. Vans built around a facelift or model changeover frequently do not match what a parts listing assumes, and cooling components are a common area for mid-production changes.
Safety notes before you start
Coolant is hot and under pressure when the engine is warm. Never open the expansion tank cap or slacken a hose on a hot engine, as escaping steam and coolant can cause severe scalding. Let the system cool fully first.
If you need to run the engine to check the fan or watch temperature, keep hands, tools and clothing clear of the cooling fan and auxiliary belt. A fan can start without warning even with the ignition off on some vehicles. Apply the parking brake, chock the wheels and do not work under a van supported only by a jack.
What the temperature gauge is actually telling you
Modern vans smooth the gauge heavily. On many, the needle sits dead centre across a wide band of real coolant temperatures and only moves once the reading is already well outside normal. By the time the needle visibly climbs, the situation is usually further along than it looks.
Because of this, the pattern of when it overheats is far more diagnostically useful than the gauge itself. Note it carefully before you start testing.
Work out the pattern first
Almost every cooling fault falls into one of these patterns, and each points at a different part of the system.
- Overheats in slow traffic, fine at speed. At road speed, air is forced through the radiator regardless of the fan. If it only overheats when that airflow stops, suspect the cooling fan circuit or a partially blocked radiator core.
- Overheats at speed or under load, fine around town. The opposite pattern points at reduced coolant flow or heat transfer: a restricted radiator, a failing water pump, or a thermostat not opening fully.
- Temperature climbs quickly from cold, within a few miles. Strongly suggests a thermostat stuck closed, or air trapped in the system preventing circulation.
- Temperature swings up and down. Often air in the system moving around, or a low coolant level uncovering the sensor intermittently.
- Overheats and you are losing coolant. Treat this as a coolant loss problem first. See our guide to coolant disappearing with no visible leak.
- Heater blows cold while the engine runs hot. Classic sign of low coolant or air lock, because the heater matrix is usually the highest point in the circuit.
Diagnostic sequence
Work through these in order. Each step either clears a possibility or points you at the next test.
1. Coolant level and condition, engine cold
Check: Level against the marks on the expansion tank. Look at the colour and clarity.
Result and next action: Low with no visible leak means you are looking for a slow external leak, an internal leak or a pressure cap fault. Oily or mayonnaise-like contamination, or a persistent smell of exhaust, moves you towards head gasket or oil cooler testing. Rusty brown coolant suggests the system has been topped up with water and the corrosion inhibitor is exhausted, which itself reduces cooling efficiency.
2. Pressure test the system
Check: With a cooling system pressure tester on the expansion tank, pressurise to the figure marked on the cap and watch for pressure decay. Test the cap separately.
Result and next action: Pressure holds and no leak appears, move on. Pressure drops with nothing visible externally means an internal leak or a leak that only appears hot. A cap that will not hold its rated pressure lets coolant boil at a lower temperature than it should, and is a genuinely common cause of apparent overheating on an otherwise healthy system. Caps are cheap and worth replacing on suspicion.
3. Hose temperature comparison
Check: From cold, run the engine and feel or, better, use an infrared thermometer on the top and bottom radiator hoses as it warms up.
Result and next action: Normally the top hose warms noticeably once the thermostat opens, and the bottom hose then follows. If the top hose gets hot and stays hot while the bottom hose stays cool with a large temperature difference across the radiator, flow through the radiator is restricted. If neither hose warms while the engine gauge climbs, the thermostat is probably stuck closed. Our guide on telling a thermostat fault from a water pump fault covers this test in more detail.
4. Cooling fan operation
Check: Let the van idle until it reaches operating temperature and watch whether the fan cuts in. Switching the air conditioning on should normally bring the fan on regardless of coolant temperature, which is a useful way to prove the fan and its circuit independently.
Result and next action: Fan runs with air conditioning but never on temperature alone points at the coolant temperature sensor, the control circuit or the relay rather than the fan motor. No fan at all in either case points at the motor, its fuse, relay or wiring. Do not simply replace the fan assembly before proving the circuit.
5. Radiator airflow and core condition
Check: Look through the front of the radiator with a torch behind it. Vans that work on sites, farms or motorways collect an astonishing amount of debris between the radiator, intercooler and condenser.
Result and next action: Visible blockage restricts airflow and is often cured with careful cleaning. Cold patches across the core when the engine is hot indicate internal blockage, which usually means replacement.
6. Scan tool data
Check: Read the coolant temperature the engine control unit is actually seeing, and check for stored fault codes.
Result and next action: If the scan tool reports a sensible temperature while the gauge shows overheating, or vice versa, you may be chasing a sensor or gauge fault rather than a genuine cooling problem. Codes relating to thermostat performance or coolant temperature rationality are a strong steer. Remember that a code names a circuit or a symptom, not a faulty part, as explained in our guide to what fault codes actually tell you.
Tools that make this job realistic
- Cooling system pressure tester with the correct adaptor for your expansion tank.
- Infrared thermometer, which turns a lot of guesswork into measurement.
- An OBD scan tool that shows live data rather than just reading codes.
- Combustion gas leak test kit if a head gasket is suspected.
- The correct coolant specification and a means of bleeding the system properly.
Common mistakes
- Replacing the thermostat because it is cheap. It often is the fault, but fitting one without testing means that if the problem is a partially blocked radiator you have simply spent money and lost time.
- Not bleeding the system properly. A significant number of vans that overheat shortly after cooling work do so because air was never fully purged. Follow the correct bleeding procedure for your specific engine.
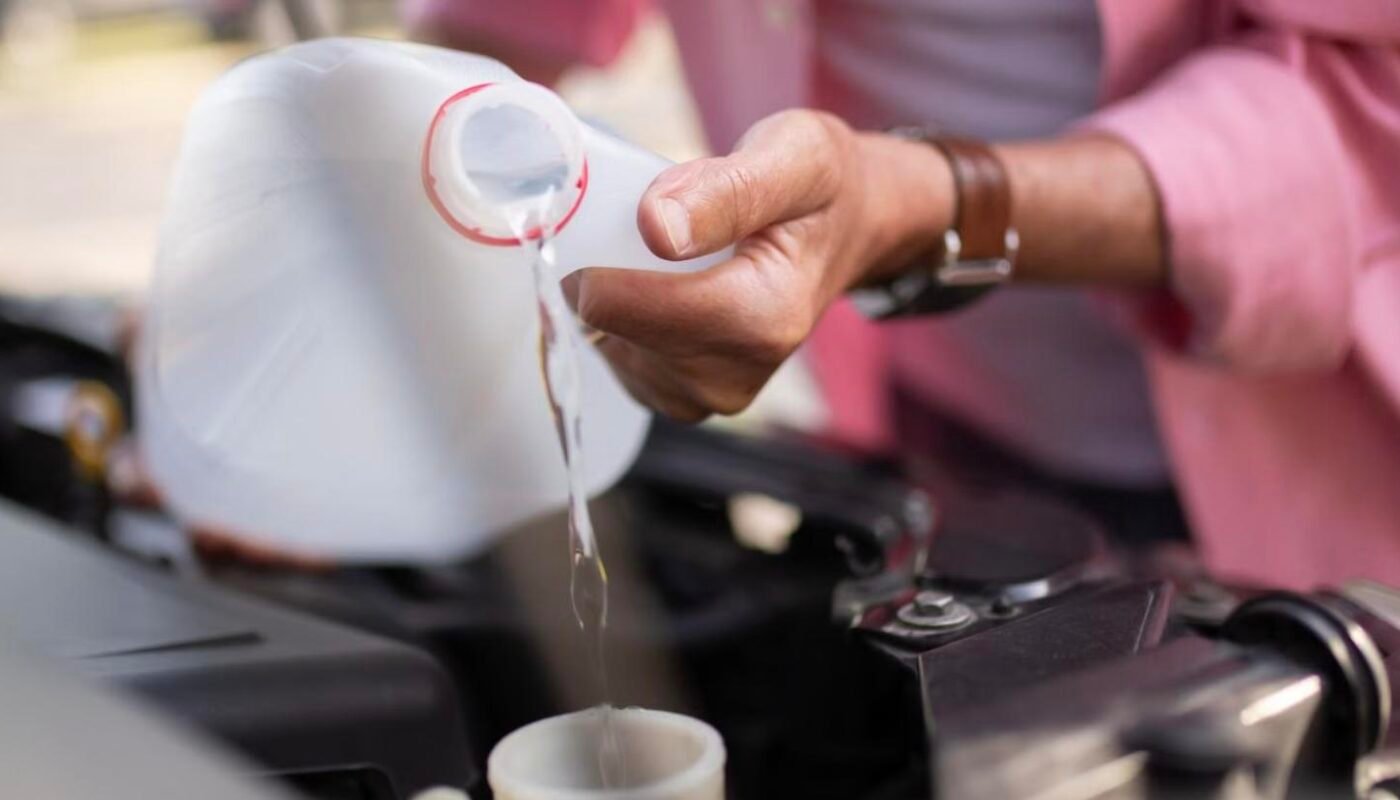
- Topping up with plain water. Acceptable in a genuine roadside emergency, but it dilutes the corrosion inhibitor and lowers the boiling point. Get the correct coolant in as soon as practical.
- Mixing coolant types. Different specifications are not always compatible and mixing can cause the coolant to gel. Use what the manufacturer specifies for your engine.
- Ignoring a related fault. A van that overheats and also has emissions or turbo faults may have one underlying cause. Excess heat load from a struggling engine is real.
Indicative UK repair costs
These are broad figures for context only and vary widely by garage, region, parts choice and how accessible the component is on your particular engine. Always get your own quotes.
- Pressure cap: usually a low-cost part, often under twenty pounds.
- Thermostat replacement: commonly in the low hundreds fitted, though on engines where the housing is buried the labour can be considerably more.
- Radiator replacement: frequently a few hundred pounds fitted.
- Water pump: varies enormously depending on whether it is driven by the auxiliary belt or the timing belt, since a timing-belt-driven pump usually means doing the belt at the same time.
- Head gasket: a major job, typically well over a thousand pounds, and worth weighing carefully against the value of the van.
When to stop and get help
Stop driving immediately if the temperature warning light comes on, if you see steam, if the coolant is visibly boiling in the expansion tank, or if you lose heater output while the gauge is high. Continuing to drive an overheating diesel risks warping the cylinder head or worse, and the repair bill escalates fast.
Hand the job over to a technician if pressure testing points to an internal leak, if combustion gases are detected in the coolant, if the fault involves the timing-belt-driven water pump, or if the cause is still unclear after working through the sequence above. Guessing at cooling faults is expensive.
Preventing it happening again
Change the coolant at the interval specified for your engine rather than treating it as lifetime fill. Keep the radiator face clear of debris, particularly if the van works off road or covers high motorway mileage. Check the coolant level regularly when the engine is cold, because catching a slow loss early is far cheaper than discovering it on a hot day with a full load. Address small leaks promptly rather than topping up and hoping.
Quick reference
Difficulty: Working out the pattern (constant vs intermittent, load-related vs idle) and basic checks are within reach of a confident owner. Confirming a head gasket or pressure-testing the system properly benefits from the right kit; a repair involving the head is a garage job. Related fault codes: worth checking alongside the pattern-based approach above, since coolant and temperature faults often trigger stored codes even when the symptom is intermittent.
- P0117 / P0118 — coolant temperature sensor circuit low or high, worth ruling out before trusting the dashboard gauge reading.
- P0128 — coolant thermostat below regulating temperature, consistent with a stuck-open thermostat rather than true overheating.
- P0300 series — misfire codes, which can accompany a head gasket fault severe enough to affect combustion.
Post-repair checks
Whatever the fix, bleed the cooling system correctly afterwards, since this engine layout is known for trapping air that mimics the original fault if not bled properly. Pressure test before returning the van to full use, and monitor temperature closely over the following week, including on the motorway loads and stop-start driving that originally showed the pattern, rather than declaring it fixed after one uneventful short trip.
Frequently asked questions
Can I drive a short distance if it is only slightly over?
It is not worth the risk. Damage from overheating is cumulative and is not always obvious immediately. If you must move the van, running the heater on full hot with the blower at maximum will shed some heat, but the correct answer is to stop and recover it.
Why does my heater blow cold when the engine is hot?
Usually low coolant or an air lock, because the heater matrix tends to sit high in the circuit and is the first thing to be starved when the level drops. It can also indicate poor circulation from a failing water pump.
The gauge reads normal but I keep having to top up. Is that still a problem?
Yes. Coolant does not get used up in normal operation. If you are topping up regularly, it is going somewhere, and finding out where before it causes overheating is much cheaper than dealing with the consequences.
Does an overheating van always mean a head gasket?
No, and assuming so leads to unnecessary expense. Thermostats, fans, radiators, caps and air locks account for a great many overheating complaints. The head gasket is one possibility to test for, not the default conclusion.

5 thoughts on “Vauxhall Vivaro Overheating: How to Diagnose It Properly”