
 by
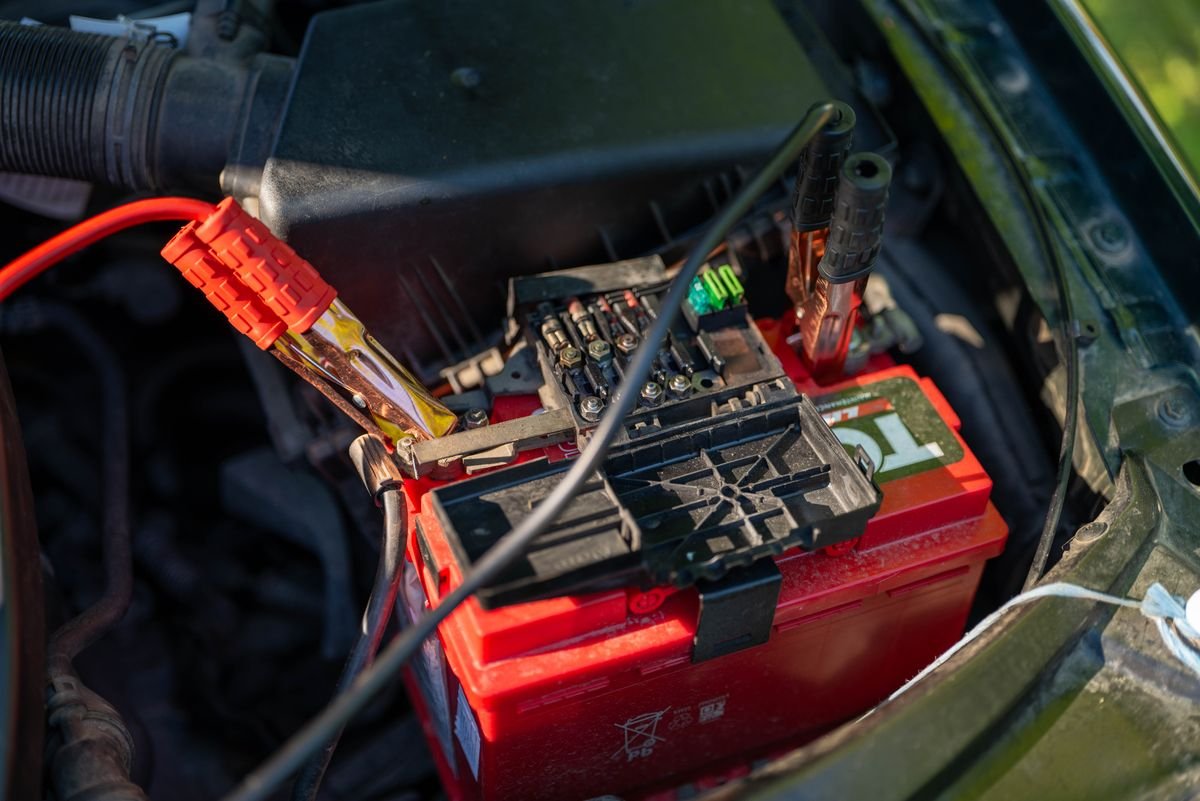
Batteries get replaced more often than they need to be. A van that will not start on a cold morning gets a new battery, starts fine for a few weeks, then does it again, because the actual fault was a failing alternator, a parasitic drain or a corroded earth. Testing before buying takes about twenty minutes and frequently saves the cost of a battery.
How the system works
The battery provides the very high current needed to crank the engine and stabilises voltage. The alternator recharges it and runs the vehicle electrical load once running. Modern vans often add complexity: smart charging strategies that deliberately vary alternator output, battery monitoring sensors on the negative terminal, and stop-start systems requiring specific battery types.
That last point matters practically. Vans with stop-start typically need an AGM or EFB battery, and fitting a conventional battery in their place tends to result in early failure and system faults.
Safety notes
Allow the engine to cool before working near the turbo, exhaust or manifold, as these retain heat for a long time. Never work under a van supported only by a jack. Use axle stands rated for the weight at the manufacturer support points, on firm level ground, with the parking brake applied and the wheels chocked.
Keep hands, tools, loose clothing and hair clear of belts, pulleys and cooling fans whenever the engine may run. A cooling fan can start unexpectedly. Where a check requires the engine running, plan how you will reach the ignition before you start.
Additional electrical safety
Batteries produce hydrogen and can explode if ignited, so keep sparks and flames away and remove the negative terminal first, refitting it last. Battery acid causes burns; wear eye protection. Be aware that disconnecting the battery on a modern van can lose stored settings and, on some vehicles, require relearn procedures afterwards.
Symptoms and what they suggest
- Slow, laboured cranking, worse when cold. Classic ageing battery, though it can also be a poor connection.
- Rapid clicking when you turn the key. Insufficient current: battery, terminals or earth. See our structured no-start diagnostic sequence.
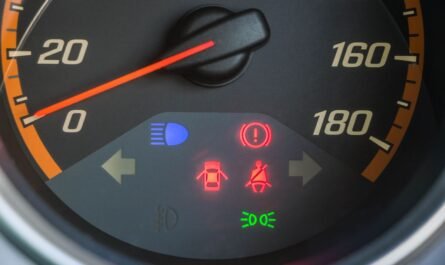
- Battery warning light while driving. A charging system fault, not a flat battery. Address it now, because the van is running on stored charge. See what each warning light means.
- Lights dimming at idle and brightening with revs. Suggests low or unstable charging output.
- Flat every few days after standing. Points at a parasitic drain rather than a bad battery.
- Stop-start no longer working. Often the earliest sign of a battery losing capacity, because the system disables itself to protect starting ability.
- Multiple unrelated electrical faults or odd module behaviour. Frequently low system voltage rather than several separate failures.
That last one is worth emphasising. Low voltage produces bizarre and misleading symptoms across a modern van, and chasing them individually wastes considerable time.
Diagnostic sequence
1. Visual inspection
Check: Terminal corrosion, tightness, case swelling or leakage, and the condition of the main earth straps at both ends.
Next action: Clean and retighten before testing. A swollen case means replace the battery regardless of test results.
2. Resting voltage
Check: With the van switched off for a few hours, measure across the terminals. Roughly 12.6 volts or above indicates a good state of charge; around 12.4 suggests partial discharge; below about 12.0 indicates significantly discharged.
Next action: A low reading tells you it is discharged but not why. Charge it fully, then continue testing rather than concluding the battery is faulty.
3. Cranking voltage
Check: Measure at the terminals while cranking.
Result and next action: Voltage collapsing well below about 10 volts during cranking, on a fully charged battery, indicates the battery cannot deliver current under load and has failed internally. This is the test that identifies the battery reading a healthy 12.6 volts at rest but failing in service.
4. Charging voltage
Check: With the engine running, measure across the terminals. On a conventional system expect a charging voltage meaningfully above resting voltage, typically in the region of 13.5 to 14.5 volts.
Result and next action: No rise above resting voltage points at the alternator, its wiring or the drive belt. Excessive voltage suggests a regulator fault, which can damage the battery and electronics.
Important caveat: Vans with smart charging deliberately vary output and may show low charging voltage when the control unit judges the battery to be adequately charged. On these, a reading outside the conventional range is not automatically a fault, and proper assessment needs a scan tool reading the charging strategy. Do not condemn an alternator on a single voltmeter reading on a smart-charge van.
5. Load test
Check: A proper conductance or load test, which many motor factors will do free.
Next action: This gives a far more reliable verdict than voltage alone, and gives you a documented result before spending money.
6. Parasitic drain test
Check: With everything switched off and the van fully asleep, which can take considerable time on a modern vehicle, measure current draw in series with the battery negative.
Next action: A small standing draw is normal for memory and alarm functions. A significantly elevated draw indicates something not shutting down. Identify it by removing fuses one at a time while watching the reading. Common culprits include aftermarket accessories, tracking devices, poorly fitted radios, faulty relays and modules failing to sleep.
Patience matters here. Measuring before the vehicle has gone to sleep gives a falsely high reading and sends you hunting a fault that does not exist.
7. Voltage drop testing
Check: Measure voltage drop along the main positive feed and earth path while cranking.
Next action: Excessive drop indicates resistance in cables or connections. This finds problems that component testing misses entirely, because each individual part tests fine while the circuit as a whole cannot carry current.
Tools required
- Multimeter capable of measuring DC voltage and current.
- Battery conductance tester, or a free test at a motor factor.
- Terminal cleaning tools and protective grease.
- Scan tool for smart charging systems and battery registration.
Battery registration
Many vans with smart charging require a replacement battery to be registered or coded to the vehicle. This tells the control unit a new battery is fitted so it can adjust its charging strategy. Skipping this on a vehicle that requires it can shorten the life of the new battery considerably.
Check whether your van requires registration before fitting a battery yourself. If it does and you cannot perform it, factor that into whether to do the job at home.
Common mistakes
- Replacing the battery without testing. Masks charging faults and parasitic drains.
- Judging a battery on resting voltage alone. A failing battery can read perfectly at rest.
- Fitting the wrong type. A conventional battery in a stop-start van fails early.
- Not registering when required. Leads to premature failure of the new battery.
- Ignoring earth straps. A corroded earth mimics almost every battery symptom.
- Measuring drain too early. Modules take time to sleep, and an early reading is meaningless.
- Condemning the alternator on a smart-charge van from one voltmeter reading. Variable output is by design.
Indicative UK costs
Broad context only. A conventional van battery is typically in the low hundreds; AGM and EFB types cost more. Battery registration is usually a small additional charge. An alternator is commonly a few hundred pounds fitted, more where access is poor. Diagnosing a parasitic drain is charged by time and can take a while, but is usually cheaper than repeatedly replacing batteries. Get quotes.
When to stop and get help
Get help if the charging warning light is on, if voltage readings are erratic, if a parasitic drain resists identification, or if your van uses a smart charging system you cannot interrogate. Also seek help if you find scorched wiring or connectors, or smell burning, as these indicate a fault that could cause a fire.
Prevention
Have the battery and charging system tested annually before winter. Keep terminals clean and protected. If the van stands for long periods, use a maintenance charger rather than letting it discharge repeatedly, since deep discharge cycles shorten battery life sharply. Have aftermarket electrical accessories fitted properly. Address stop-start becoming unavailable, as it is often the first warning.
Quick reference
Difficulty: Most of this sequence — visual inspection, resting and cranking voltage, charging voltage — is doable with a basic multimeter. Parasitic drain testing and interpreting smart-charging behaviour are more involved and benefit from a scan tool. Applies to: all vans; the smart-charging caveats and battery registration requirement apply mainly to newer vans with stop-start and battery monitoring sensors, not older conventional charging systems.
Related fault codes
Generic codes worth checking on a scan tool if you have access to one. As with any code, confirm the exact code and freeze-frame data rather than acting on the description alone.
- P0562 — system voltage low. Consistent with a weak battery, poor charging, or excessive voltage drop in the wiring.
- P0563 — system voltage high. Points toward a regulator fault, which can also damage the battery.
- P0620 / P0621 / P0622 — generator/alternator control circuit faults, relevant on smart-charging systems where the control unit manages the alternator directly.
Post-repair checks
After fitting a battery or resolving a charging fault, recheck resting voltage once the van has settled, then charging voltage with the engine running. Confirm any required battery registration has actually been carried out, not just attempted. Clear stored codes only once you have confirmed the fault will not recur, and watch for the warning light over the next few short journeys rather than assuming a single successful start means it is fixed.
Frequently asked questions
How long should a van battery last?
It varies widely with use, climate and how the van is driven. Short journeys that never fully recharge the battery shorten life considerably compared with regular longer runs.
Can I fit a conventional battery instead of AGM to save money?
Not advisable on a van designed for AGM or EFB. It will typically fail early and can cause charging system faults, so any saving is short lived.
Why does my battery keep going flat when the van stands?
Most likely a parasitic drain, often from an aftermarket accessory or a module not shutting down. It can also be a battery no longer holding charge, which load testing will distinguish.
Do I really need to register a new battery?
On vehicles that require it, yes. Check for your specific van. Where it is required, skipping it typically results in the new battery being charged incorrectly and failing sooner than it should.



4 thoughts on “Van Battery and Charging Faults: Test Before You Replace”