 by
Wheel bearing noise is one of the more commonly misdiagnosed faults on a van, because a droning hum from underneath could equally be tyres, a differential, a driveshaft or a binding brake. The bearing gets blamed because it is the familiar answer. Confirming it properly takes about ten minutes and saves replacing a healthy component.
What a wheel bearing does
The bearing lets the wheel rotate freely while carrying the vehicle weight and resisting cornering loads. On a van those loads are considerable, particularly at the rear when laden, which is why bearings on commercial vehicles have a harder life than on a car of the same age.
Most modern vans use a sealed bearing or a complete hub assembly. That matters for the repair, because a sealed unit is replaced rather than adjusted or repacked, and on many vans the ABS reluctor ring is built into the bearing.
Safety notes
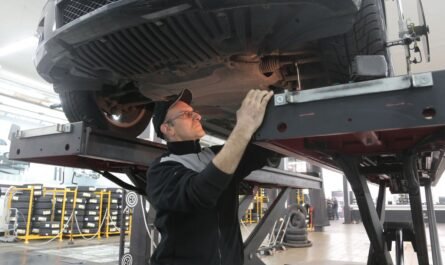
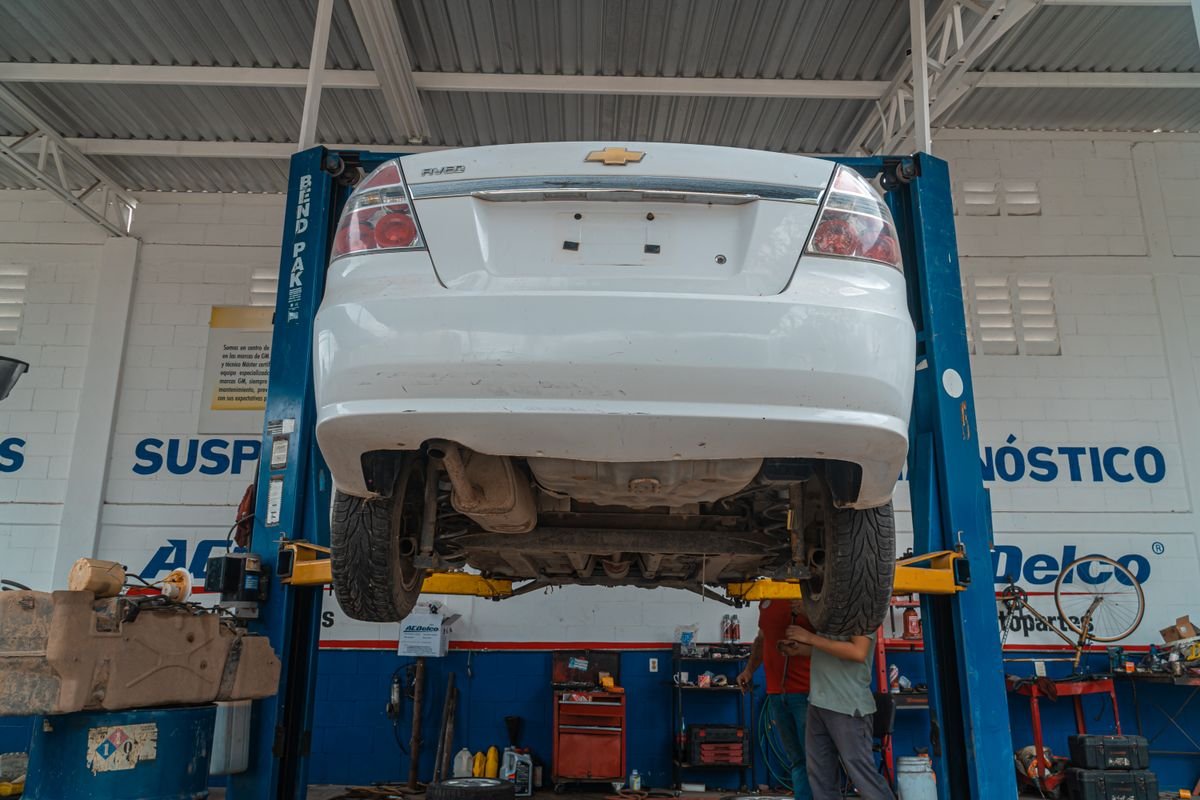
Never work under a van supported only by a jack. Use axle stands rated for the weight at the manufacturer support points, on firm level ground, with the parking brake applied and the wheels chocked. Wear eye protection when working underneath, as corrosion debris falls.
Suspension components can store considerable energy. Coil springs in particular must never be disturbed without proper spring compressors, and even then the job carries real risk. If you are not equipped for it, this is a job for a garage.
Symptoms
- A droning or humming noise that rises and falls with road speed, not engine speed. This is the single most useful distinction.
- Noise that changes when you steer. Gently weaving on a quiet road loads and unloads each side in turn. If the noise worsens turning right, the load has shifted onto the left bearing, and vice versa.
- A rumble or growl felt through the floor or seat rather than heard.
- Play at the wheel when rocked at twelve and six o clock.
- ABS warning light, where the bearing carries the reluctor ring or where play varies the sensor air gap. See ABS warning light diagnosis.
- Uneven tyre wear in some cases, from the wheel not running true.
- Heat at the hub after a drive, in advanced cases.
What else makes the same noise
Worth ruling these out first, because they are common and cheaper.
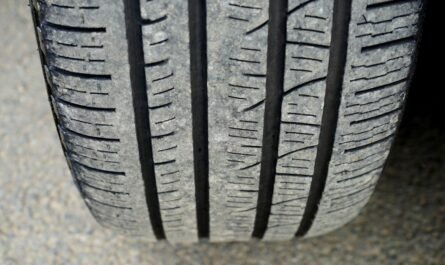
- Tyres. Worn, cupped or aggressively treaded tyres produce a very similar drone. The giveaway is that tyre noise usually changes with road surface, while bearing noise stays consistent.
- Binding brakes. A dragging caliper or seized parking brake cable produces a rubbing or grinding noise plus heat. See handbrake faults.
- Differential or gearbox. On rear-wheel-drive vans a differential whine changes with load and throttle rather than purely with speed.
- Driveshaft or CV joint. Usually a clicking on lock rather than a constant drone. See CV joint and driveshaft faults.
Diagnostic sequence
1. Establish that it follows road speed
Check: With the van at a steady speed on a quiet road, briefly select neutral and let it coast, if it is safe to do so.
Result and next action: If the noise continues unchanged while coasting, it is rotational and related to wheels, bearings or driveline rather than engine load. If it disappears with the engine load, look at the drivetrain instead.
2. The load test
Check: On a quiet, straight, empty road at moderate speed, weave gently side to side.
Result and next action: Bearing noise typically increases when the van leans onto the failing side. Turning right loads the left-hand bearing. This is the most useful roadside test available and usually identifies the corner.
3. Check for play
Check: With the wheel safely raised, grip at twelve and six o clock and rock it. Then repeat at nine and three.
Result and next action: Movement at twelve and six suggests a bearing or, on the front, a ball joint. Movement at nine and three points more towards steering components such as track rod ends. To separate a bearing from a ball joint, have someone watch the joint while you rock the wheel. Note that a failing bearing can be noisy with no detectable play at all, so no play does not clear it.
4. Spin and listen
Check: With the wheel raised and the brake released, spin it by hand and listen. A mechanic stethoscope or a long screwdriver held against the hub carrier makes a real difference.
Next action: Roughness, rumbling or a gritty feel through the hub indicates bearing damage. Compare against the same wheel on the other side, which is the useful reference.
5. Rule out the brakes
Check: Does the wheel spin freely, or does it drag and stop quickly? Is the hub hot after a drive when the others are not?
Next action: A binding brake explains both noise and heat and is a different repair entirely.
Why van bearings fail
- Sustained heavy loads, particularly on the rear axle of a van that runs consistently near its limit.
- Kerbing and potholes, which impose shock loads far beyond normal running.
- Water ingress past a failed seal, which is why pressure washing directly at the hub is a bad habit.
- Incorrect fitting, especially hammering a bearing in through the outer race or failing to torque the hub nut to specification. The hub nut torque is usually critical and often a single-use nut.
- Age and mileage, straightforwardly.
Indicative UK costs
Broad context only. A bearing or hub assembly commonly runs from around fifty pounds into the low hundreds depending on the van and whether it integrates the ABS ring. Labour varies considerably: some designs are a bolt-off hub assembly, others require pressing the bearing out of the carrier, which takes longer. Expect the total to sit somewhere in the low-to-mid hundreds per corner. Get quotes.
Common mistakes
- Replacing a bearing on noise alone. Tyres are the most frequent innocent party.
- Concluding it is fine because there is no play. Plenty of noisy bearings have none.
- Ignoring the hub nut torque. Under or over-tightening destroys a new bearing quickly, and the nut is frequently single use.
- Hammering the bearing in through the outer race. Damages it before it turns a wheel.
- Not checking the ABS ring. If it is integral, a damaged ring means the bearing anyway.
- Pressure washing straight at the hub. Drives water past the seal.
When to stop and get help
Stop driving and get help if the noise has become a loud grinding or growling, if you can feel roughness through the steering, or if there is significant play at the wheel. A wheel bearing that fails completely can allow the wheel to seize or, in the worst case, separate. This is not a fault to run on indefinitely once confirmed.
Prevention
Avoid kerbing and take potholes slowly. Do not overload the van habitually. Keep pressure washers away from hub seals. Have hubs checked at each service. Address ABS faults promptly, since they sometimes point at a bearing whose play is varying the sensor gap.
Frequently asked questions
Can I drive with a noisy wheel bearing?
For a short period, gently, while you arrange the repair. It will get worse, and complete failure is genuinely dangerous, so do not treat it as something to live with.
How do I tell it from tyre noise?
Tyre noise usually changes markedly with road surface. Bearing noise stays consistent and responds to the weave test by changing with load.
Should I replace both sides?
Not necessarily. Unlike brakes and dampers, bearings do not need to be replaced in pairs. If the other side is silent and has no play, leave it.
Will it fail the MOT?
Excessive play or a badly noisy bearing is a failure item. A bearing that is beginning to rumble may attract an advisory.
This guide is general information for UK van owners, not vehicle-specific repair instructions. Procedures, tolerances and component layouts vary by engine code and model year. Confirm any figures against your VIN and manufacturer workshop information, and see our Disclaimer before carrying out any work.