 by
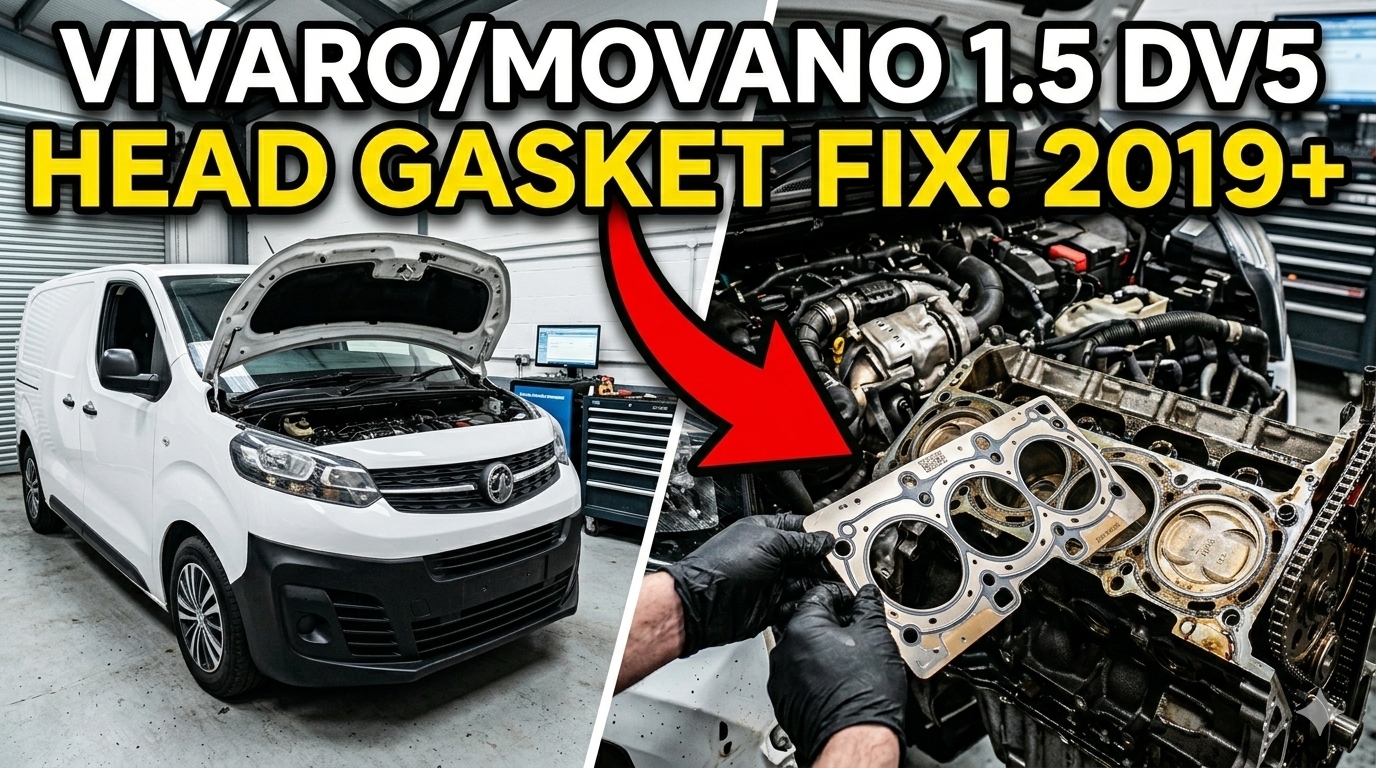
by A blown head gasket on the 1.5 DV5 diesel engine is one of the more expensive faults you can face on a Vivaro, Dispatch, Expert or Proace, and one of the easiest to get wrong if you’re doing it yourself for the first time. We filmed a full head gasket replacement on this engine from start to finish, and this article walks through what the job actually involves, alongside the video so you can follow along at your own pace.
Watch the full teardown and rebuild on our Vans Guru YouTube channel — subscribe there for new video walkthroughs as we film them.
Applies to
This is the 1.5-litre DV5RUCD diesel, part of the BlueHDi / Turbo D family shared across several PSA-platform vans. The procedure in the video applies directly to:
- Vauxhall / Opel Vivaro 1.5 Turbo D (2019 onward)
- Citroën Dispatch 1.5 BlueHDi
- Peugeot Expert 1.5 BlueHDi
- Toyota Proace 1.5D
If you’re not certain which engine your van has, confirm the engine code before starting. See our guide to reading fault codes properly if you want to rule other causes out first.
Signs you’re looking at a head gasket, not something else
A blown head gasket on this engine typically shows up as mysterious coolant loss with no visible external leak, sudden overheating, or thick white smoke from the exhaust. None of those are exclusive to a head gasket on their own — a stuck thermostat, a failing water pump or a cracked expansion tank can produce similar symptoms for a lot less money. Before you commit to this job, it’s worth ruling those out. Our guides to telling cooling faults apart and head gasket symptoms and what mimics them cover the tests that actually confirm it before you strip anything down.
What the job involves
In the video we strip down the top end, remove the cylinder head, clean up the mating surfaces on the block, and fit a new multi-layer steel head gasket. Broadly, that means:
- Depressurising and draining the cooling system, and disconnecting the battery
- Removing whatever sits in the way on top of the engine — intake, injectors, and associated wiring and hoses
- Releasing the camshaft and cylinder head bolts in the correct sequence
- Lifting the head clear and inspecting it and the block for warping, scoring or cracks
- Cleaning both mating surfaces thoroughly before the new gasket goes anywhere near them
- Fitting the new gasket dry (unless the manufacturer specifies otherwise) and torquing the head bolts down in the correct sequence and stages
- Rebuilding everything in reverse, then refilling and bleeding the cooling system properly
We deliberately don’t publish exact torque figures or bolt sequences in writing here, because they’re specific to the engine code and can differ between revisions — the video shows the actual sequence we used on this engine, and you should cross-check it against manufacturer workshop information for your specific van before you commit a bolt to a number.
Safety notes
Allow the engine to cool completely before opening the cooling system — a hot system is under pressure and can cause serious burns. Disconnect the battery before starting. Support the van properly on axle stands rated for the weight, never on a jack alone. Diesel and coolant are both slip and fire hazards; clean up as you go. If the head bolts are torque-to-yield (single-use), you need new ones for the rebuild — reusing them is a common way to end up doing this job twice.
Common mistakes
- Skipping the warp check. A head that’s been run hot can warp even slightly, and a warped head will blow a brand new gasket again. Have it checked, and machined if needed, before it goes back on.
- Rushing the surface prep. Any old gasket material, oil or debris left on the mating surfaces is a leak path waiting to happen.
- Guessing the torque sequence. Cylinder head bolts are tightened in a specific pattern and in stages for a reason — working around the head in the wrong order can leave the gasket unevenly clamped.
- Not bleeding the cooling system properly afterwards. Trapped air causes overheating that looks exactly like the original fault returning.
When to stop and get help
If you don’t have the correct torque wrench, workshop information for your specific engine code, or somewhere safe and level to work, this is a job worth paying a garage for rather than improvising. A head gasket done wrong is expensive to redo and can damage the engine further if the head goes back on warped or the bolts aren’t torqued correctly.
After the repair
Bleed the cooling system fully before you consider the job done, and check the coolant level again after the first few heat cycles — it’s normal for a freshly bled system to need topping up once trapped air has fully worked its way out. Watch the temperature gauge closely on the first few drives, and recheck for any weeping around the head before you call it finished.
Frequently asked questions
Can I just use a head gasket sealer instead of replacing it?
Chemical sealers can sometimes buy a failing gasket a little time, but they don’t fix a warped head, and they’re not a reliable permanent fix once a gasket has actually gone. Treat them as a stopgap at best.
Do I need to replace the head bolts?
On many engines the head bolts are torque-to-yield and must be replaced whenever the head comes off. Check the specification for your exact engine code before you decide either way.
How long does this job take?
The video runs under six minutes edited down, but in reality this is a job measured in hours, not minutes, once you include draining, stripping down, machining checks if needed, and a proper cooling system bleed afterwards. Don’t rush it to fit a timeline.