 by
Most panel vans use leaf springs at the rear because they carry weight well and cope with being loaded and unloaded constantly. They also wear in ways that are easy to miss, because the deterioration is gradual and the van simply feels a bit softer and sits a bit lower each year.
How a leaf spring works
A leaf spring is a stack of curved steel leaves clamped together, bolted to the chassis at one end, to a shackle at the other, and to the axle in the middle. The curvature gives it its spring rate. As the van is loaded, the leaves flatten; as the load comes off, they return.
Over years of heavy use the steel gradually loses some of that curvature, which is what owners see as sagging. Corrosion between the leaves accelerates it, and it does not recover.
Safety notes
Never work under a van supported only by a jack. Use axle stands rated for the weight at the manufacturer support points, on firm level ground, with the parking brake applied and the wheels chocked. Wear eye protection when working underneath, as corrosion debris falls.
Suspension components can store considerable energy. Coil springs in particular must never be disturbed without proper spring compressors, and even then the job carries real risk. If you are not equipped for it, this is a job for a garage.
Symptoms
- The van sits low at the back, or noticeably lower on one side than the other when unladen on level ground.
- Bottoming out over bumps when loaded, sometimes with a hard metallic knock as the axle meets the bump stops.
- Creaking or groaning from the rear over speed bumps and at low speed, typically dry or worn bushes.
- Clunking over bumps, often the shackle bushes or U-bolts.
- Poor handling when laden, with the rear feeling vague or wallowing.
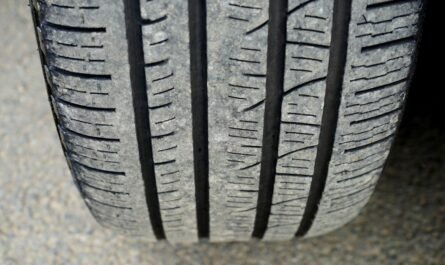
- Uneven rear tyre wear, which can follow from a change in axle geometry.
- Visible cracked or broken leaf, most often the top or main leaf.
What actually fails
- Bushes. By far the most common. Rubber bushes at the front eye and rear shackle perish, crack and eventually allow metal-to-metal movement. This produces most of the noise and much of the vagueness, and is far cheaper than replacing springs.
- Shackles and pins. Corrode and seize, particularly on vans used through winters on salted roads. Seized shackle pins are one of the more time-consuming parts of this job.
- U-bolts. Clamp the spring to the axle. They stretch and corrode, and are single-use items on many vans.
- Individual leaves cracking. Usually starts at a stress point. A cracked main leaf is a serious defect.
- The centre bolt. Locates the leaves relative to each other. If it shears, the axle can shift on the spring pack, which affects alignment and is dangerous.
- Loss of camber. The gradual flattening described above.
Diagnostic sequence
1. Measure ride height on both sides
Check: On level ground, unladen, measure from the ground to the same reference point on each side, such as the wheel arch lip above the centre of the wheel.
Result and next action: A significant side-to-side difference points at one sagging spring pack. Comparing both sides is far more reliable than trying to judge against a specification, and costs nothing.
2. Inspect each leaf visually
Check: With the van safely supported, look along each leaf for cracks, particularly at the eyes and around the centre bolt. Look for leaves that have separated or shifted relative to each other.
Next action: Any cracked leaf means replacement. A shifted pack suggests a failed centre bolt and should be treated as urgent.
3. Check the bushes
Check: Use a pry bar carefully at the spring eyes and shackles to check for movement. Look for perished, cracked or missing rubber, and for the metal sleeve sitting off-centre.
Next action: Worn bushes alone explain most noise complaints and are much cheaper to put right than a full spring replacement. Do this before concluding the springs are finished.
4. Inspect U-bolts and the centre bolt area
Check: Look for corrosion, stretching and looseness. Check the axle is centred on the spring pack.
Next action: Loose U-bolts allow the axle to move and must be addressed immediately. Replace them rather than retightening where they are specified as single use.
5. Check the shock absorbers at the same time
Check: For leaks and for how the van settles after being pushed down.
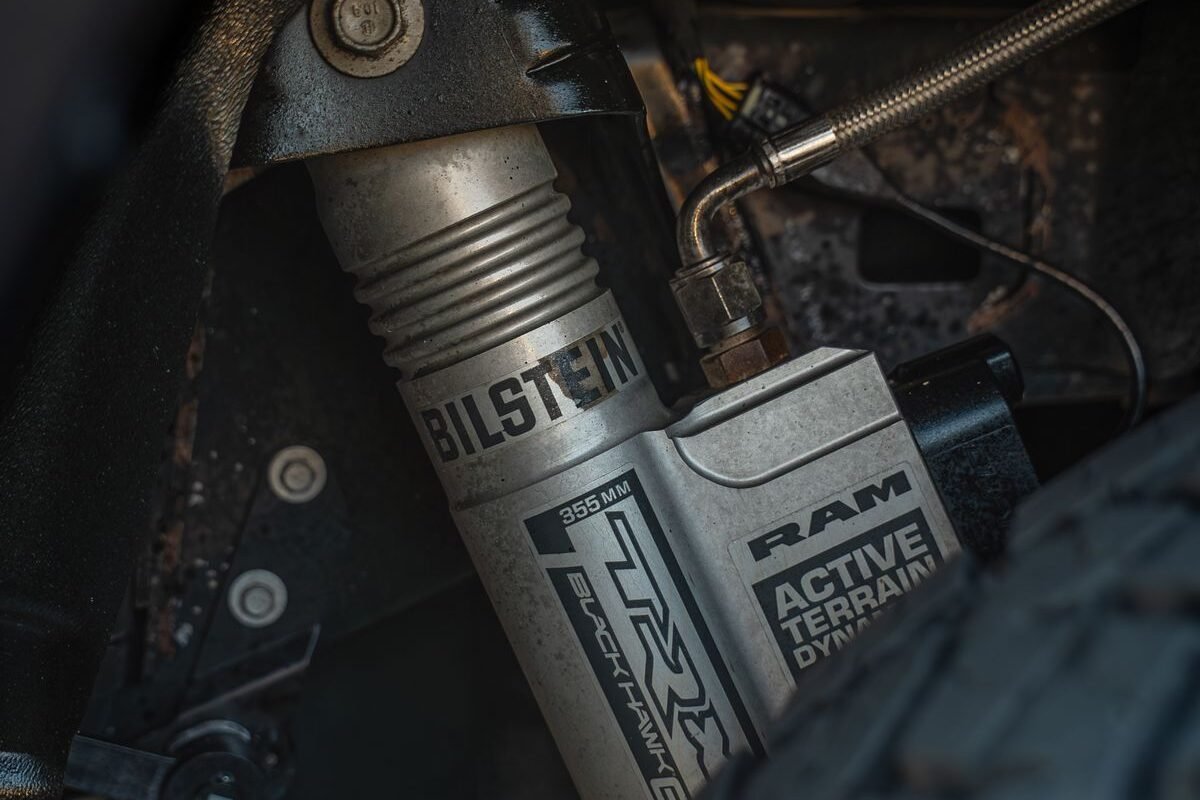
Next action: Tired dampers and tired springs feel similar from the driver seat. See our guide to shock absorber wear on a working van.
Repair options
- Bushes only. Where the leaves are sound and the complaint is noise or slight vagueness. The most cost-effective outcome and surprisingly often the right one.
- Replace the spring pack in axle pairs. Where a spring has sagged or cracked. Replacing only one side leaves the van sitting unevenly and handling asymmetrically, so pairs are standard practice.
- Add-a-leaf or helper springs. Sometimes offered as a cheaper way to restore ride height. Be cautious: this changes the spring rate, can make the unladen ride considerably harsher, does not repair a cracked leaf, and does not increase the van legal payload. It is a workaround, not a repair.
- Assisted suspension such as air helpers. A legitimate option for vans that regularly carry heavy loads, but it must be fitted properly and does not change the plated weight limits.
On the payload point specifically: no suspension modification raises what the van is legally permitted to carry. See our guide to van payload and weight limits.
Indicative UK costs
Broad context only. Bush replacement is mostly labour, and the labour depends heavily on whether the shackle pins come out or have to be cut. Leaf springs themselves vary widely by van, commonly from around a hundred pounds each into several hundred, with fitting on top. U-bolts are inexpensive. Expect a seized job to cost more than a clean one, and get quotes.
Common mistakes
- Replacing springs when the bushes were the problem. Check the cheap thing first.
- Replacing one side only. Leaves the van sitting and handling unevenly.
- Reusing stretched U-bolts. They are frequently single-use for good reason.
- Tightening bushes with the van in the air. Bush fasteners should generally be finally tightened with the suspension at normal ride height, or the rubber is pre-loaded wrongly and fails early.
- Using helper springs to fix a cracked leaf. Hides a structural failure.
- Assuming a lower ride height is cosmetic. It changes geometry, reduces bump clearance and accelerates other wear.
When to stop and get help
Stop driving and get help if you find a cracked or broken leaf, if the axle appears to have shifted on the spring pack, or if U-bolts are loose. These are structural failures with real consequences. Spring work also involves considerable stored energy and heavily corroded fasteners, so unless you have the equipment and experience, this is a garage job.
Prevention
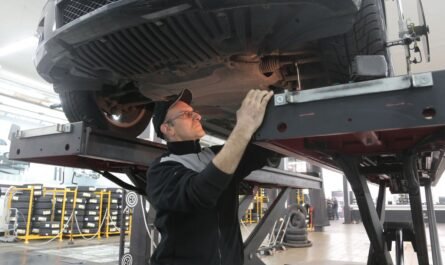
Avoid habitually overloading the van, which is what flattens springs prematurely. Have the rear suspension inspected at each service, since it is already on a ramp. Address creaking early, as dry bushes wear the mountings. Wash road salt from the underside where practical over winter.
Frequently asked questions
Can I replace just one leaf?
Individual leaves are available for some vans, but matching a new leaf into an aged pack rarely restores correct geometry. Replacing the pack in axle pairs is the more predictable repair.
Will helper springs increase my payload?
No. The van plated weight limits are fixed regardless of what suspension you fit.
Why does my van creak over speed bumps?
Most often dry or perished spring bushes, and sometimes the shackles. It is usually a cheap fix if caught before the mountings wear.
Is a sagging spring an MOT failure?
A cracked or broken leaf, or excessive corrosion, will fail. General sagging may attract an advisory depending on severity and its effect on the vehicle.
This guide is general information for UK van owners, not vehicle-specific repair instructions. Procedures, tolerances and component layouts vary by engine code and model year. Confirm any figures against your VIN and manufacturer workshop information, and see our Disclaimer before carrying out any work.