
 by
Cheap code readers have done van owners a real favour, but they have also created a persistent misunderstanding. A diagnostic trouble code does not tell you which part has failed. It tells you which measurement fell outside expected limits. Those are very different statements, and the gap between them is where a lot of money gets wasted.
What a code actually is
Control units monitor sensors and actuators continuously. When a reading falls outside its expected range, or two readings disagree in a way that should not be possible, a code is stored describing that observation.
So a code naming a particular sensor circuit usually means one of several things: the sensor has failed, its wiring or connector is damaged, its power or earth supply is faulty, the control unit input has failed, or the sensor is working perfectly and accurately reporting a genuine condition the engine is in.
That last possibility is the one most often missed. A sensor reporting a real problem gets replaced, the problem remains, and the owner concludes the new part was faulty.
Reading the structure of a code
Standard codes follow a pattern of a letter and four digits.
- P for powertrain, B for body, C for chassis, U for network and communication.
- The following digit indicates whether the code is generic across manufacturers or specific to the manufacturer.
- The remaining digits identify the specific system and fault.
The practical implication is that generic codes are broadly consistent between vehicles, whereas manufacturer-specific codes need the correct reference information for that make. A basic reader may show the code number but describe it incorrectly, or not at all.
What a basic reader will not show you
This matters when deciding whether to buy a tool or pay for diagnosis.
- Manufacturer-specific codes. Many van faults live outside the generic set entirely.
- Live data. Far more useful than codes for most diagnosis.
- Freeze frame data. The snapshot of conditions when the fault occurred, including engine speed, load and temperature.
- Actuator tests. Commanding a component to operate while watching the response.
- Non-engine systems. ABS, airbag, body and transmission modules usually need a more capable tool.
- Adaptations and coding. Required after many repairs.
How to use a code properly
1. Record everything before clearing
Note all codes, whether each is current or historic, and capture freeze frame data if available. Clearing codes destroys evidence, and a technician who has to recreate the fault from scratch will charge you for the privilege.
2. Read all of them, and note the order
Multiple codes are usually related. A single root cause commonly triggers several downstream codes. Look for the one that could plausibly cause the others rather than working alphabetically.
3. Interpret the wording carefully
Code descriptions are precise if you read them literally.
- Circuit low or high. Points strongly at wiring, connectors or supply, more often than the sensor itself.
- Range or performance. The signal is present and plausible but not what was expected. Often a genuine mechanical condition rather than a sensor fault.
- Correlation. Two sensors disagree. Either could be at fault, or the mechanical relationship between them has changed, as with a stretched timing chain.
- Insufficient flow or activity. Frequently mechanical, such as a blocked passage or sticking valve.
4. Confirm with live data before buying anything
This is the step that separates diagnosis from parts replacement. If a code names a sensor, look at what that sensor is reporting and ask whether the value is plausible for the conditions. A coolant temperature sensor reading minus forty degrees on a warm engine is almost certainly a circuit fault. One reading a believable but slightly wrong figure needs comparison against another source.
5. Inspect wiring before condemning components
Connectors corrode, looms chafe against brackets, and rodent damage is more common than people expect. A visual inspection and a wiggle test with live data displayed catches a good proportion of intermittent faults.
Worked example
Take a code indicating insufficient EGR flow. Read literally, it says the control unit expected exhaust gas recirculation and did not measure the change it anticipated. Possible causes include a valve stuck closed, a carbon-blocked passage, a failed actuator, a position sensor misreporting, a vacuum supply fault on older systems, or a wiring fault.
Replacing the EGR valve addresses only some of those. Commanding the valve with a scan tool and watching the position feedback moves you from six possibilities to one or two in a few minutes. See our guide to EGR valve diagnosis.
Pending, current and permanent codes
- Pending. Detected once but not yet confirmed. Useful early warning of a developing fault.
- Current or confirmed. Detected on enough occasions to illuminate the warning light.
- Permanent. Cannot be cleared with a tool and only clears once the control unit has verified the fault is genuinely resolved. Relevant to emissions readiness.
Common mistakes
- Buying the part named in the code. The single most expensive mistake in DIY diagnosis.
- Clearing codes before recording them. Throws away the evidence.
- Clearing codes to pass an MOT emissions check. Readiness monitors reset when codes are cleared, and an incomplete readiness status can itself cause problems.
- Ignoring historic codes. They often explain an intermittent fault that is not present at the time of testing.
- Trusting a generic description of a manufacturer-specific code. Cheap readers frequently mislabel these.
- Chasing every code at once. Fix the most likely root cause, clear, then retest to see what genuinely returns.
When paying for diagnosis is worth it
Diagnostic time frequently pays for itself. It is worth paying when several codes appear together, when the fault is intermittent, when manufacturer-specific data or actuator tests are needed, or when the suspected part is expensive. An hour of proper diagnosis costs far less than replacing a NOx sensor, an injector set or a turbo that turns out to be healthy.
Common codes by system
Rather than list every possible code here, which would date quickly and encourage looking up a fix instead of testing, these guides cover the codes most likely to accompany specific faults, alongside the tests that confirm what is actually wrong:
- Van will not start — crank/cam sensor, rail pressure and glow plug circuit codes.
- Battery and charging faults and alternator faults — system voltage and generator control circuit codes.
- EGR valve faults — flow and position codes.
- AdBlue and SCR faults — NOx efficiency and reductant quality codes.
- DPF regeneration problems — soot accumulation and efficiency codes.
- Turbo failure symptoms — over/underboost and wastegate codes.
- Timing belt or chain — camshaft/crankshaft correlation codes.
Sources and standards
Generic P0xxx codes referenced across this site follow the SAE J2012/ISO 15031 standard shared across manufacturers since the introduction of EOBD in Europe, which is why a basic reader can read them on almost any van regardless of make. Manufacturer-specific codes (often P1xxx and beyond) are not part of this shared standard and require manufacturer documentation or a more capable tool to interpret fully.
Frequently asked questions
Are cheap Bluetooth readers any good?
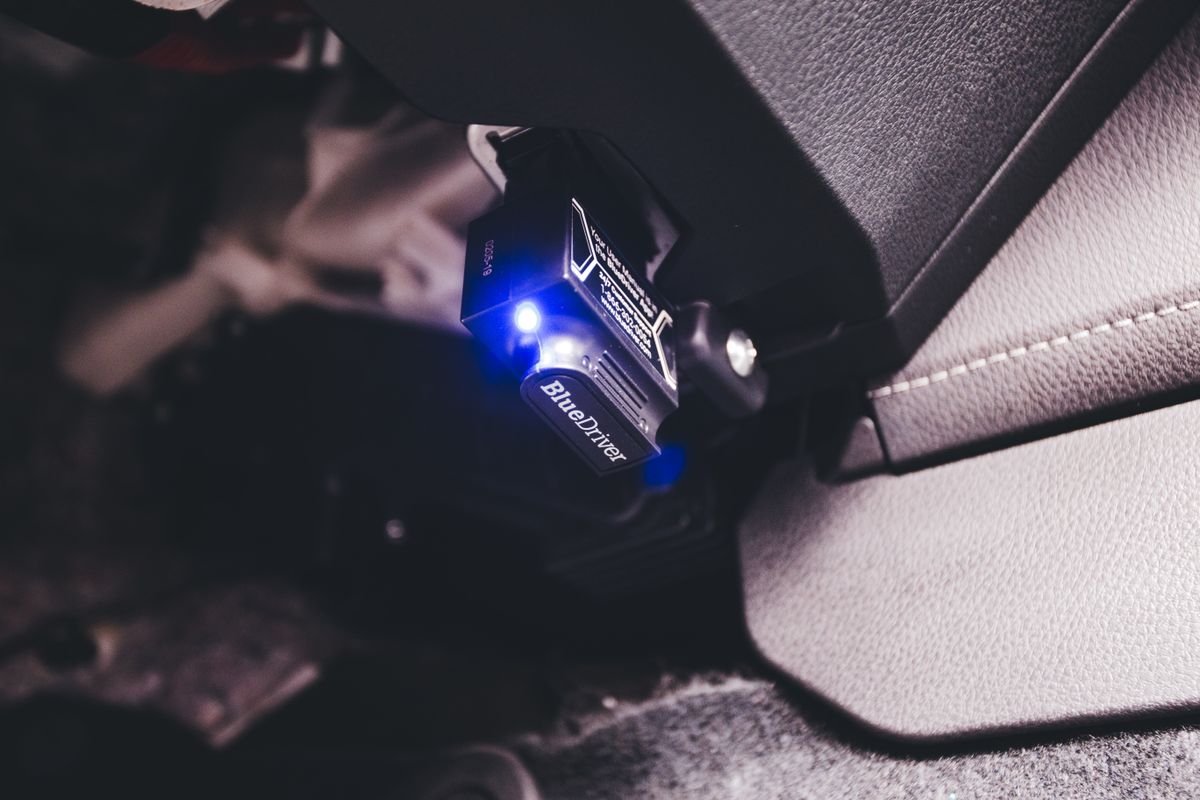
They are useful for reading and clearing generic engine codes and often show basic live data, which is genuinely helpful. They will not access most manufacturer-specific systems or perform actuator tests.
Can I clear a code and see if it comes back?
Yes, and it is a legitimate technique, provided you have recorded the code and any freeze frame data first.
Why does the same code keep returning after I replaced the part?
Usually because the part was not the fault. Look at wiring, supply, earth and whether the sensor was accurately reporting a real condition.
Can I read codes if the van will not start?
Usually yes, and it is worth doing. Most control units store codes from failed start attempts, which is why our no-start diagnostic guide treats code reading as an early step rather than a last resort.
No codes stored but the van runs badly. Now what?
Entirely possible. Mechanical faults such as boost leaks, restricted exhausts and worn injectors do not always set codes. Live data and physical testing take over at this point.


3 thoughts on “Van Fault Codes: What a DTC Actually Tells You”