 by
Every working van will corrode eventually. What matters is where. Surface rust on a door bottom is a cosmetic problem you can live with for years; corrosion within a prescribed area near a suspension or seatbelt mounting is a structural defect that fails an MOT and can make the vehicle unsafe. Knowing the difference tells you whether to act now or monitor.
The three grades of corrosion
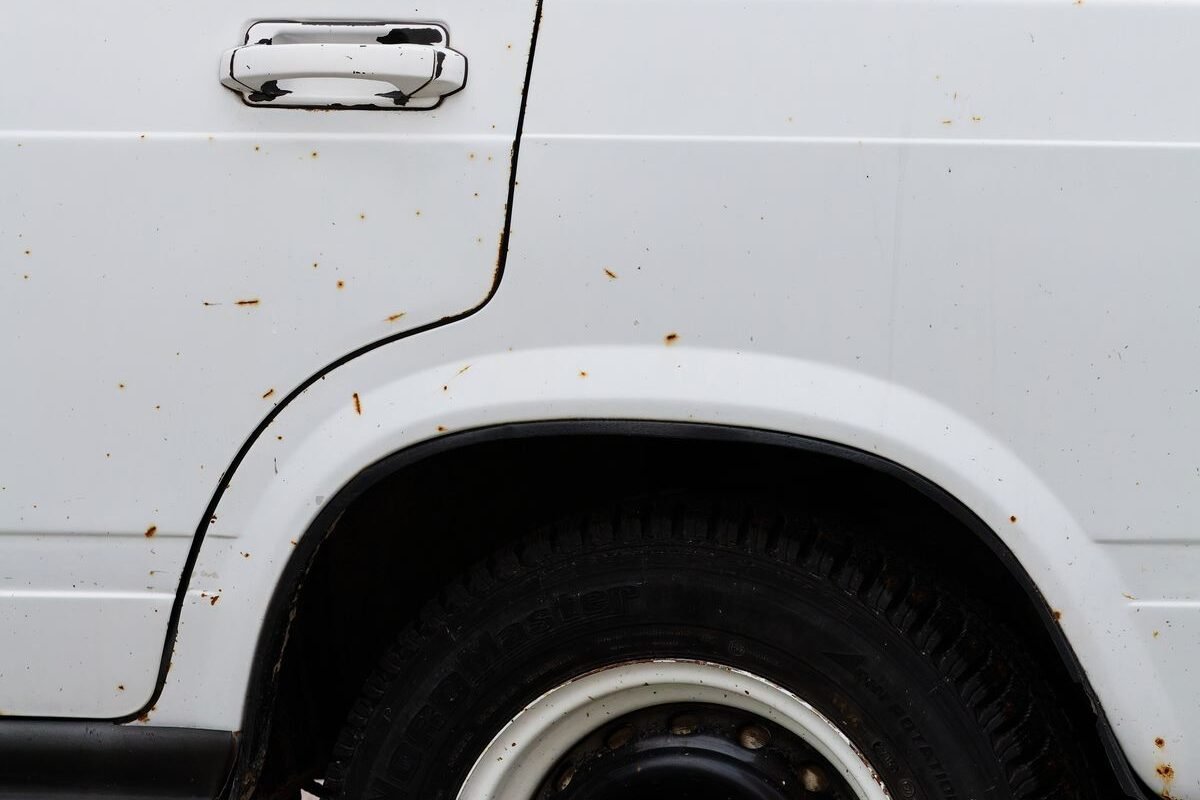
- Surface rust. Paint has failed and the steel has begun to oxidise, but the metal is essentially intact. Treatable, and worth treating before it progresses.
- Scale or flaking rust. Layers lifting from the surface, with metal loss beginning. Needs cutting back and treating properly.
- Perforation. The metal has rusted through. Where this occurs in a structural area, it needs proper repair by welding.
The MOT test treats corrosion differently depending on location. Within a defined distance of certain mounting points, including suspension, steering and seatbelt anchorages, corrosion that has weakened the structure is a failure. Outside those prescribed areas, corrosion is generally assessed on whether it affects strength or presents a sharp edge risk.
Safety notes
Never work under a van supported only by a jack. Use axle stands rated for the weight at the manufacturer support points, on firm level ground, with the parking brake applied and the wheels chocked. Wear eye protection when working underneath, as corrosion debris falls.
Suspension components can store considerable energy. Coil springs in particular must never be disturbed without proper spring compressors, and even then the job carries real risk. If you are not equipped for it, this is a job for a garage.
Where to look on a van
Sills and lower body
The classic area. Sills take road spray constantly and often have internal cavities that hold moisture. Check both the visible outer sill and, where accessible, the inner structure. Tap along it: a dull thud rather than a sharp ring suggests filler or thinned metal.
Wheel arches
Rear arches in particular, where spray is thrown up continuously. Check the lip and the inner arch. On vans, the arches often meet the load floor structure, so perforation here can extend further than it appears.
Around suspension mounting points
The most important structurally. Look at the chassis rails around leaf spring hangers and shackle mounts, and at subframe and suspension arm mountings. Corrosion here is what fails MOTs and what makes a van genuinely unsafe. See leaf spring problems.
Seatbelt anchorages
Check the floor and pillar structure around each mounting. This is a prescribed area and is taken seriously for obvious reasons.
Door bottoms and rear door frames
Drain holes block, water sits inside the door skin, and rust works outward from the inside. On rear barn doors, check the lower corners and around the hinges and latch mountings.
The load floor
Frequently overlooked because it is under a ply lining. Water gets in past worn seals, sits under the lining and works away for years unseen. Lift the lining if you can, particularly on a van you are considering buying.
Around the fuel filler and roof gutters
Seams and joints where two panels meet trap moisture. Roof gutters and the joints around roof rack mountings are common on vans that carry racks permanently.
Brake and fuel lines
Not bodywork but found during the same inspection, and important. Corroded rigid brake lines are an MOT failure and a genuine safety risk. See brake fluid and hydraulic line inspection.
Diagnostic sequence
1. Wash it and inspect in good light
Check: With the underside cleaned, work systematically front to back with a torch.
Next action: Note locations rather than trying to judge severity immediately.
2. Tap test suspect areas
Check: Tap gently with a small hammer or screwdriver handle.
Result and next action: Sound metal rings; thin or filled metal thuds. Be restrained, since enthusiastic prodding turns a repairable panel into a hole.
3. Establish whether it is structural
Check: Is it within a prescribed area near a suspension, steering or seatbelt mounting?
Next action: If yes, treat it as urgent and get it assessed professionally. If no, it may be cosmetic and can be managed.
4. Check inside cavities and under linings
Check: Load floor under the ply, inside door skins, behind trim panels where accessible.
Next action: Hidden corrosion is usually further advanced than visible corrosion, because it has been damp longer.
5. Look for previous repairs
Check: Filler, overspray, mismatched paint, underseal applied thickly over a specific area.
Next action: Fresh underseal over one patch often hides something. Be sceptical, particularly when buying. See buying a used van.
Treating it
- Surface rust. Remove back to clean metal, treat with a rust converter or primer suitable for the job, then paint. Done properly this stops progression.
- Cavity protection. Wax-based cavity injection into sills and box sections is genuinely effective and is worth doing preventively on a van you intend to keep.
- Underbody sealing. Effective when applied to clean, dry, sound metal. Applied over existing rust it traps moisture and accelerates the problem, which is why sloppy underseal is worse than none.
- Welded repair. Required for perforation in structural areas. This is not a job for filler or a plate bonded over the top, and a structural repair must be done to a proper standard.
A word on filler: it has a legitimate place in cosmetic bodywork for smoothing a repair, but it is not a repair for perforation, and filler over rust in a structural area is both an MOT failure and dangerous.
Indicative UK costs
Broad context only. DIY treatment of surface rust costs little beyond materials and time. Professional cavity waxing typically runs into the low hundreds for a full vehicle and is good value on a van you plan to keep. Welded structural repairs vary enormously with extent, from a couple of hundred pounds for a small patch to figures that exceed the value of an older van. Get quotes and get more than one for structural work.
Common mistakes
- Painting or underseal over rust. Traps moisture and accelerates it.
- Using filler on structural corrosion. Unsafe and an MOT failure.
- Ignoring blocked drain holes. The single most preventable cause of door and sill rot.
- Not lifting the load floor lining. Where the worst hidden corrosion usually is.
- Prodding hard during inspection. Creates the hole you were looking for.
- Assuming an advisory is not urgent. Corrosion advisories become failures, usually within a year or two.
When to stop and get help
Get professional assessment for any corrosion near suspension, steering or seatbelt mountings, any perforation of structural members, or anything you are not sure about. Do not continue using a van with significant structural corrosion around suspension mountings, because these carry load and can fail. Welded structural repair needs doing properly by someone competent.
Prevention
Wash the underside regularly through winter, particularly after driving on salted roads. Keep door and sill drain holes clear, which takes seconds and prevents a great deal. Repair paint chips and scratches promptly. Consider cavity wax treatment on a van you plan to keep long term. Fix leaks quickly so water is not sitting in the load area. Avoid pressure washing directly at seams and seals, which drives water into cavities.
Frequently asked questions
Will surface rust fail an MOT?
Generally not on its own. Corrosion becomes a failure when it affects structural strength, particularly in prescribed areas near mountings, or presents a sharp edge risk.
Is underseal worth applying?
On clean, sound, dry metal, yes. Applied over existing rust it makes things worse by sealing moisture in.
How do I know if it is structural?
Proximity to suspension, steering or seatbelt mountings is the key test. If in doubt, have it assessed rather than guessing.
My van got a corrosion advisory. How long have I got?
There is no fixed answer, but advisories are flagged because they are progressing. Treating it while it is still surface rust is far cheaper than welding later.
This guide is general information for UK van owners, not vehicle-specific repair instructions. Procedures, tolerances and component layouts vary by engine code and model year. Confirm any figures against your VIN and manufacturer workshop information, and see our Disclaimer before carrying out any work.